

| 일 | 월 | 화 | 수 | 목 | 금 | 토 |
|---|---|---|---|---|---|---|
| 1 | 2 | 3 | ||||
| 4 | 5 | 6 | 7 | 8 | 9 | 10 |
| 11 | 12 | 13 | 14 | 15 | 16 | 17 |
| 18 | 19 | 20 | 21 | 22 | 23 | 24 |
| 25 | 26 | 27 | 28 | 29 | 30 | 31 |
- Google 애널리틱스
- 프로그래머스
- 헤르메스 엔진
- 구름톤챌린지
- nextjs-performance
- JavaScript
- 자바스크립트
- 연결 요소 제거하기
- 리액트네이티브 엔진
- 리액트네이티브
- Hermes Engine
- 테스트 Date
- 중첩 점
- 테이블 해시 함수
- ResizeObserver
- 과제 진행하기
- create-next-app
- jest
- 최솟갑 구하기
- 통신망분석
- 호텔 대실
- 날짜 테스트
- nextjs
- mock date
- 귤 고르기
- 구름톤
- 구름톤 챌린지
- mutationobserver
- Leetcode #javascript #알고리즘 #Algorithms #js
- Jest uuid syntax
- Today
- Total
나만보는개발공부블로그
Storybook 적용 본문
현재 프로젝트에서 사용중인 컴포넌트들을 Atomic하게 나눠 디자이너와 공유하고 컴포넌트별로 더욱 활용하기 위해서 Storybook을 사용하게 되었습니다.
그렇게 해서 적용하고 배운 내용들을 정리하고자 합니다.
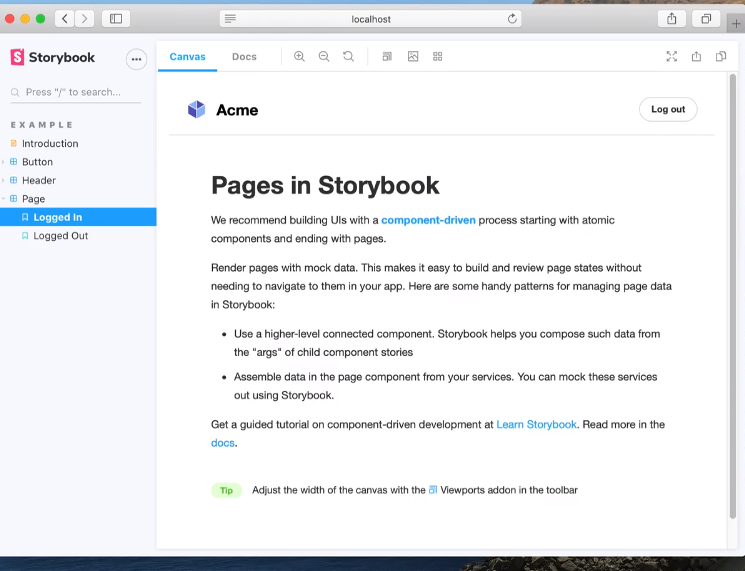
Storybook이란?
- 회사에서 UI 라이브러리를 내부 개발자과 디자이너 및 기획자들을 위해서 문서화 하기 위해서 사용할 수 있고 공개용 디자인 시스템을 개발하기 위한 플랫폼으로도 사용할 수 있습니다.
- 각각 독립적으로 어떤 방식으로 렌더링되는지 시각적으로 테스트하면서 개발을 진행할 수 있습니다.
스토리북 적용방법은 현재 진행중인 프로젝트 폴더 디렉토리 안에서 아래 명령어를 실행하게 되면 cli에 자동적으로 package.json과 각종 필요한 파일들을 설치합니다.
npx @storybook/cli sb init
그러면 package.json의 script 명령어 안에 두개의 명령어가 생성된걸 확인 할 수 있습니다.
"storybook": "start-storybook -p 9009 -s public",
"build-storybook": "build-storybook -s public"
그리고 .storybook 폴더가 생성되었고 내부에 main.js와 preview.js가 생성되어 있을겁니다.
main.js내부에는 storybook의 설정(storybook파일들의 위치, webpack, babel 설정 등)과 addons들이 주로 들어갈 수 있습니다. addons로 각종 모듈을 추가해서 storybook을 이용할때 더 편리한 도구들을 사용할 수 있습니다.
preview.js는 iframe으로 독립적으로 컴포넌트들을 렌더링 할때 사용되는 미리보기라고 할 수 있습니다.
여기서 전역적으로 사용될 수 있는 변수들이 있는데
- decorators (Stories이 보여지기전에 Context로 감싸주거나 필요한 데이터 처리)
- parameters (msw mock handler, actions, matchers, persetColors)
- globalTypes (theme toolbar, locale toolbar.)
를 예로 들 수 있습니다.
* v7에서는 globalArgs도 사용할 수 있게 되었는데 이 부분은 main.js안에서 아래와 같이 추가하여야 합니다. (v6인 경우)
module.exports = {
 ...
  features: {
    storyStoreV7: true,
  },
 }
사용중인 컴포넌트 Storybook 적용법
만약 Something.tsx 이라는 컴포넌트가 현재 존재하고 이 컴포넌트를 Storybook에 보여주기 위해서는 Something.stories.tsx라는 파일을 생성해줍니다.
그러면 아래와 같은 코드와 작성을 해줍니다.
import React from "react";
import { ComponentStory, ComponentMeta } from "@storybook/react";
import Something from "./Something";

export default {
  title: "somthing",
  component: Something,
  parameters: {
    layout: "fullscreen",
  },
} as ComponentMeta<typeof Something>;

const Template: ComponentStory<typeof Something> = (args, ctx) => {
  return (
      <Something {...args} />
  );
};

export const Component = Template.bind({});
Component.args = {
  some arguments...
};
필요한 arguments와 세팅을 해주고 실행하면 storybook의 컴포넌트들을 확인할 수 있습니다.
* 추가적으로 현재 프로젝트에 react-query, react-intl 그리고 style component theme를 사용하고 있었습니다.
세팅하는 방식으로는
preview.js안에 globalTypes를 다음과 같이 설정했습니다.
export const globalTypes = {
 ...,
  //theme 설정 예시
  theme: {
    name: "Theme",
    description: "Global theme for components",
    defaultValue: "light",
    toolbar: {
      icon: "circlehollow",
      items: ["light", "dark"],
      showName: true,
    },
  },
  //locale 설정 예시
  locale: {
    name: "Locale",
    description: "Internationalization locale",
    defaultValue: "en",
    toolbar: {
      icon: "globe",
      items: [
        { value: "en", right: "🇺🇸", title: "English" },
        { value: "ko", right: "🇰🇷", title: "한국어" },
      ],
    },
  },
  ...
};
그리고 저희 프로젝트에서는 색상이 정해져있어서 그 색상에 대한 presetColor도 설정하였습니다.
export const parameters = {
  ...,
  controls: {
    matchers: {
      radio: /(background|color)$/i,
      date: /(date)$/,
    },
    presetColors: [
      { color: "#FF8746", title: "orange" },
      { color: "#FFFFFF", title: "dark.s1" },
      { color: "#E6E8ED", title: "dark.s2" },
      { color: "#BEC1CA", title: "dark.s3" },
      { color: "#464D63", title: "dark.s4" },
      { color: "#2C303E", title: "dark.s5" },
      { color: "#20232D", title: "dark.s6" },
      { color: "#27B593", title: "green" },
      { color: "#FF5B5B", title: "red" },
      { color: "#FFD273", title: "yellow" },
    ],
  },
  ...
}
그리고 decorators 안에서 react-query client와 theme, intl을 처리했습니다.
export const decorators = [
  (Story, context) => {
    const messages = locale.messages // intl 메세지 데이터 {"en": ..., "ko": ...,}
    const queryClient = new QueryClient();
	...,


    return (
      <ThemeProvider theme={getTheme(context.globals.theme)}>
        <QueryClientProvider client={queryClient}>
          <IntlProvider messages={messages[context.globals.locale]} locale={context.globals.locale}>
              <Story />
          </IntlProvider>
        </QueryClientProvider>
      </ThemeProvider>
    );
  },
];


const getTheme = (theme) => {
  return theme === "dark" ? darkTheme : basic;
};'Web Development > Front' 카테고리의 다른 글
| [NextJS] nextjs Error: Plugin name should be specified (0) | 2022.06.07 |
|---|---|
| [NextJS] create-react-app migration to NextJS (0) | 2022.06.07 |
| [React]ref 와 forwardRef (0) | 2021.12.15 |
| [React] React.cloneElement (1) | 2021.06.17 |
| [State]상태관리 (0) | 2021.03.30 |